We have all done “the small bathroom dance”—that awkward sideways shuffle past the vanity unit just to close the door. While frustrating, our extensive experience in interior design suggests that a cramped feeling often comes from poor flow rather than a lack of actual floor space. You do not need to knock down walls to create visual breathability; you often just need to stop fighting the room’s limits. When exploring small bathroom layout ideas, discovering the right flow is the ultimate key to customer satisfaction and functional elegance.
Before prioritising new tiles, consider the “Anchor Concept.” Think of the toilet as a heavyweight; because it requires a wide soil pipe, it is the most expensive fixture to relocate. As specialists in Gold Coast bathroom renovations, we typically advise working around this fixed point, along with the window and door—your three “unmoveables”—to avoid draining your budget on invisible plumbing alterations.
Success depends on how you arrange the remaining pieces around these constraints. By focusing on strategic placement and personalisation rather than pure expansion, we can turn a claustrophobic squeeze into a comfortable, sustainable retreat. These optimised layouts prove that with the right plan, a tiny footprint can still deliver a massive impact.
The 15-Inch Rule and Standard ‘Invisible’ Measurements
We have all visited that cloakroom where sitting down requires contorting your body to avoid the basin unit. While specific dimensions vary by region, true comfort usually comes down to passing “The Elbow Test.” Before committing to functional plumbing wall configurations, sit on a chair in an open room and stick your elbows out as if you were reading a newspaper. That width is your absolute minimum reality check; if your walls or vanity encroach on that invisible boundary, no amount of expensive craftsmanship will make the room feel spacious.
To translate this body movement into construction numbers, professionals rely on guidelines. Building regulations for bathroom fixture clearance almost universally mandate a minimum distance of 15 inches (approx. 38cm) from the centre of your toilet to the nearest obstruction, whether that is a wall or a unit. While that is the legal minimum to pass inspection, aiming for 18 inches allows you to move freely without feeling like you are squeezed into an aeroplane economy seat.
Keep these invisible numbers handy when sketching your renovation plan:
- Toilet: 15 inches from the centre line to the side wall; 21 inches of open floor space in front.
- Shower: 24 inches of clear space in front of the entry for safely drying off.
- Vanity: 30 inches of clearance from the cabinet front to the opposite wall.
- Door Swing: The door edge must never hit a fixture; if it does, consider a sustainable, space-saving sliding pocket door.
Sometimes, your initial measurements might reveal that a standard arrangement simply will not fit the maths. In these tight scenarios, space-saving corner basin layouts or round-front toilets can recover those crucial inches needed for fixture egress. Once you understand these clearance zones, you are ready to tackle the most common puzzle in home design: the standard family washroom.
The 5×8 Layout Masterclass: Why the ‘Three-in-a-Row’ Is the King of Efficiency
The standard family bathroom is not just common; it is an engineering marvel of efficiency designed to make every inch count. By aligning the basin, toilet, and shower along one single wall, builders reduce plumbing complexity and maximise the open floor area for movement. This “three-in-a-row” configuration remains the gold standard among small bathroom layout ideas because it creates a clear traffic lane, preventing the claustrophobic feeling of dodging fixtures just to brush your teeth.
Your budget will thank you for respecting this layout during a renovation. Relocating a toilet or shower drain to the opposite wall involves tearing up the floorboards and extending pipes, a move that can easily add thousands to your final bill. Unless the current flow is absolutely non-functional, keeping your fixtures anchored to the existing wet wall allows you to spend that saved money on high-impact finishes. This is a primary strategy we use when designing bespoke residential bathrooms, ensuring funds go toward quality stone tiles or an elegant vanity unit, rather than invisible pipes hidden behind the plasterboard.
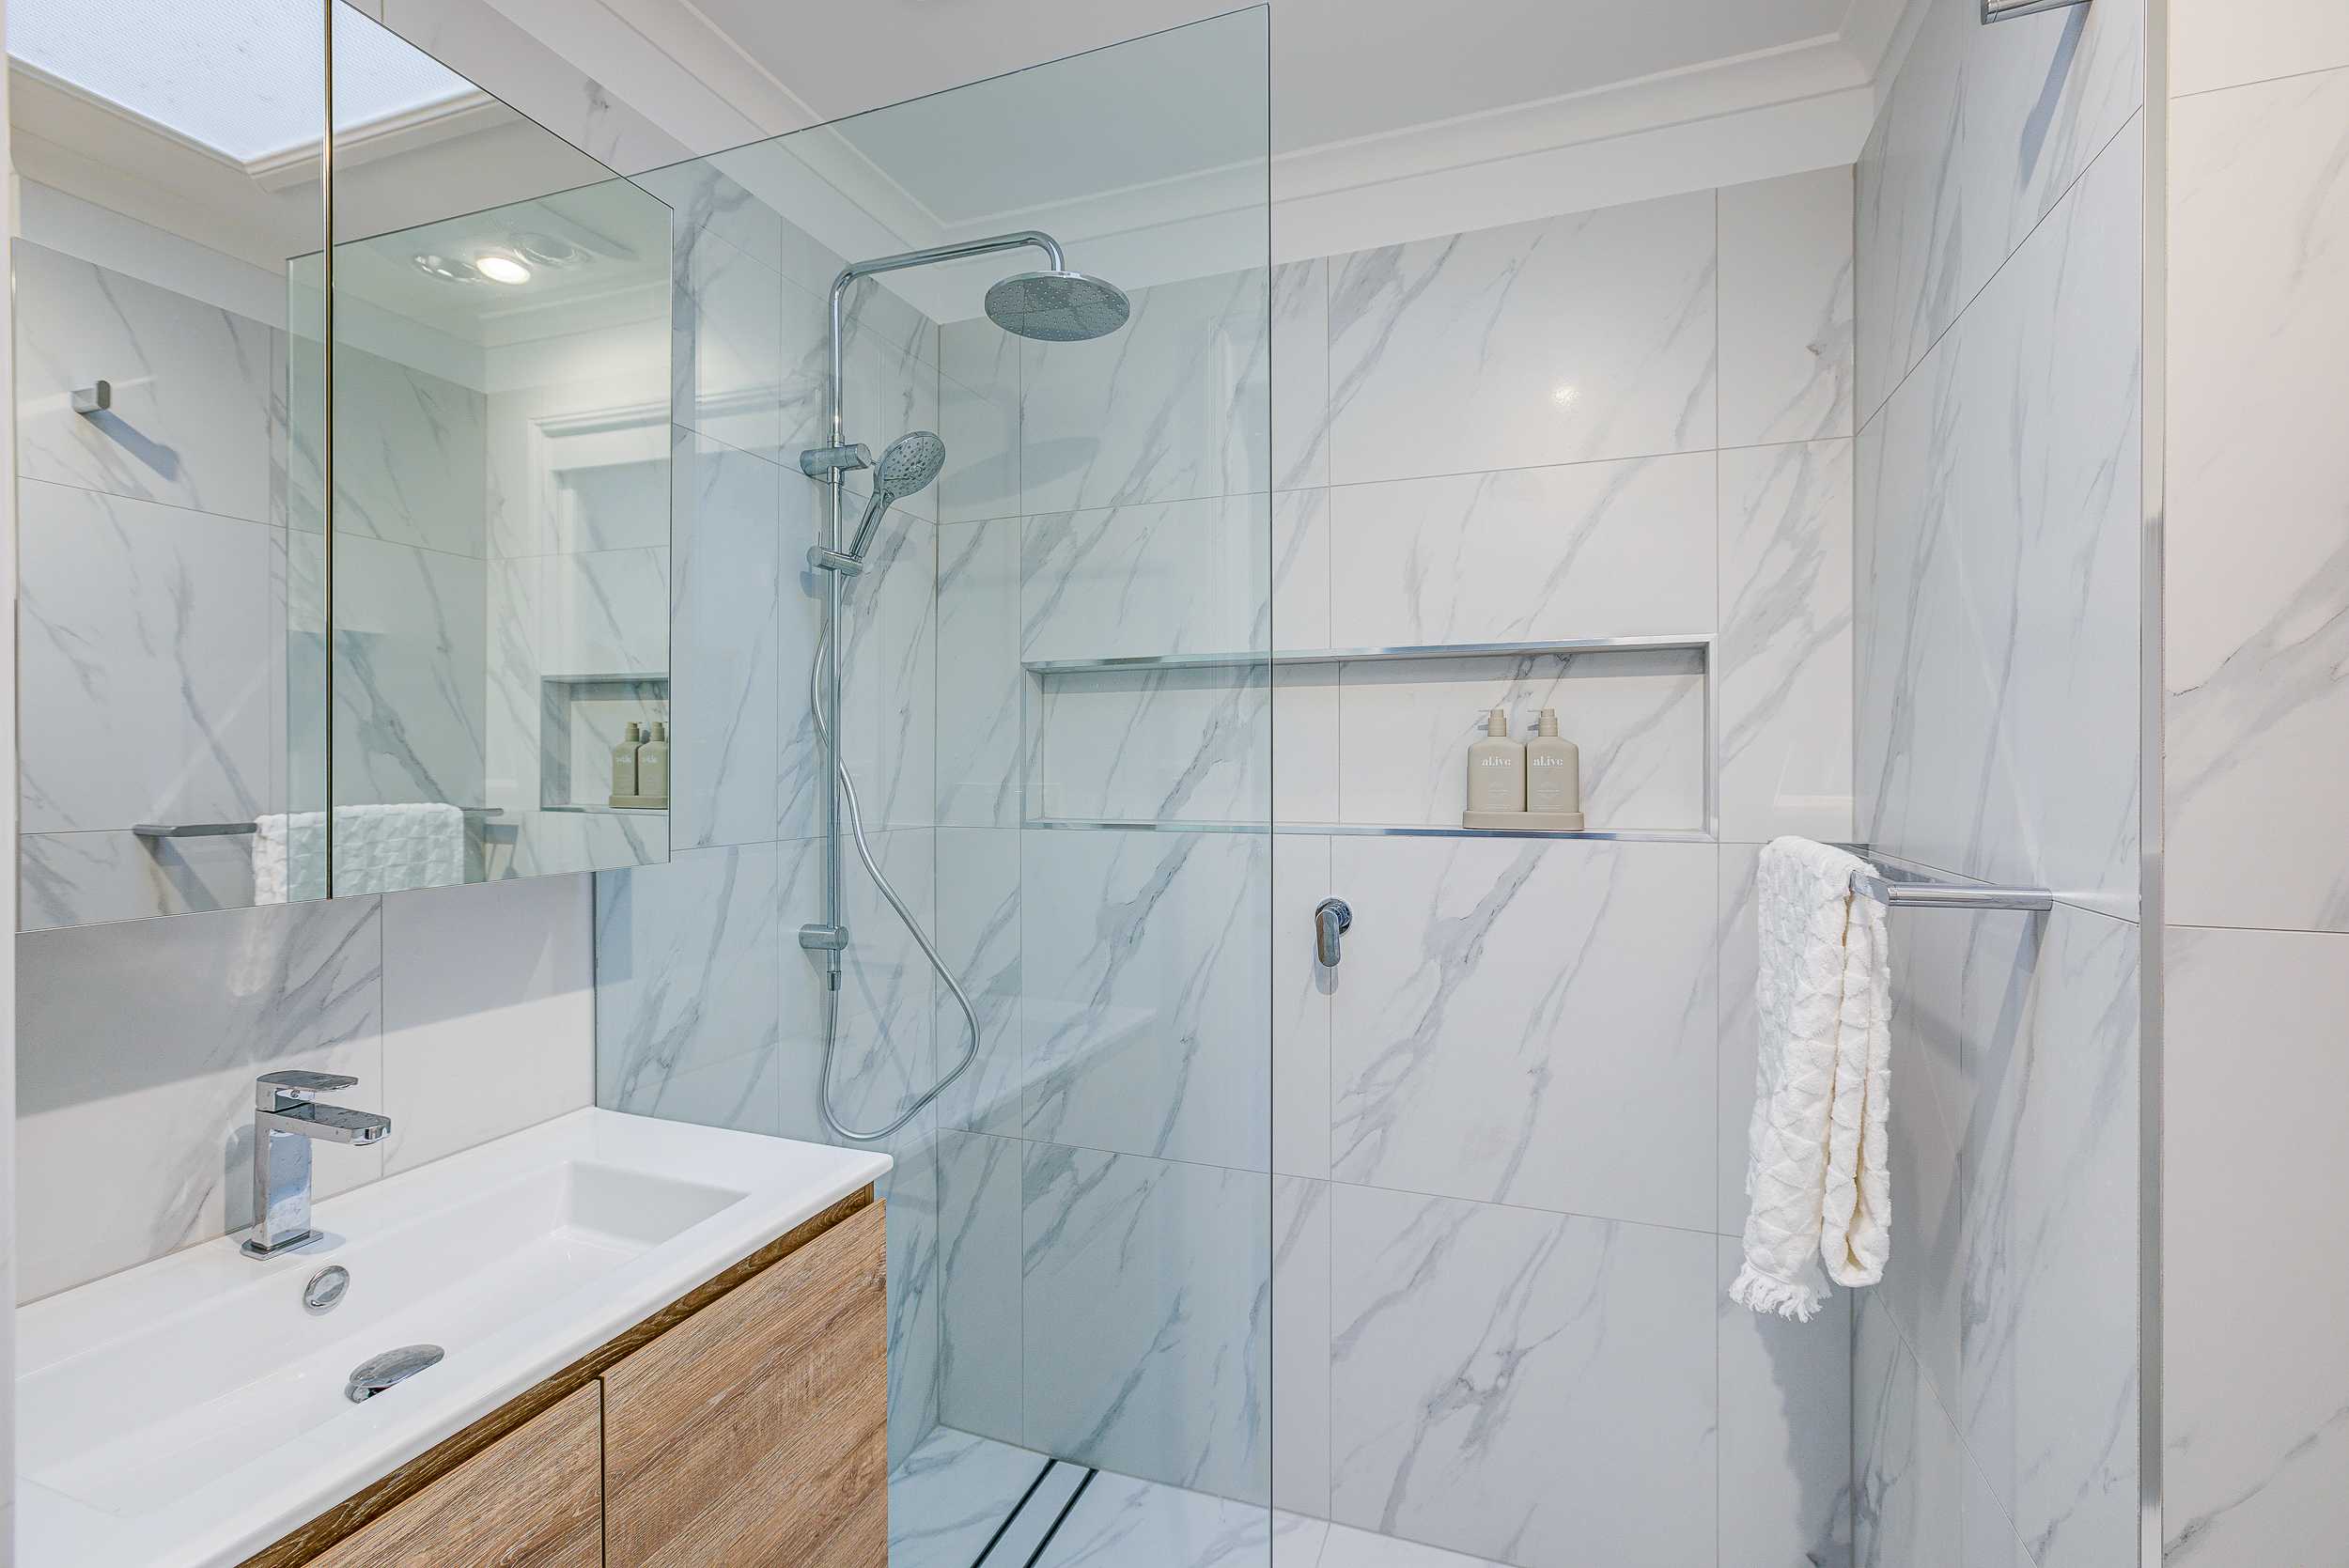
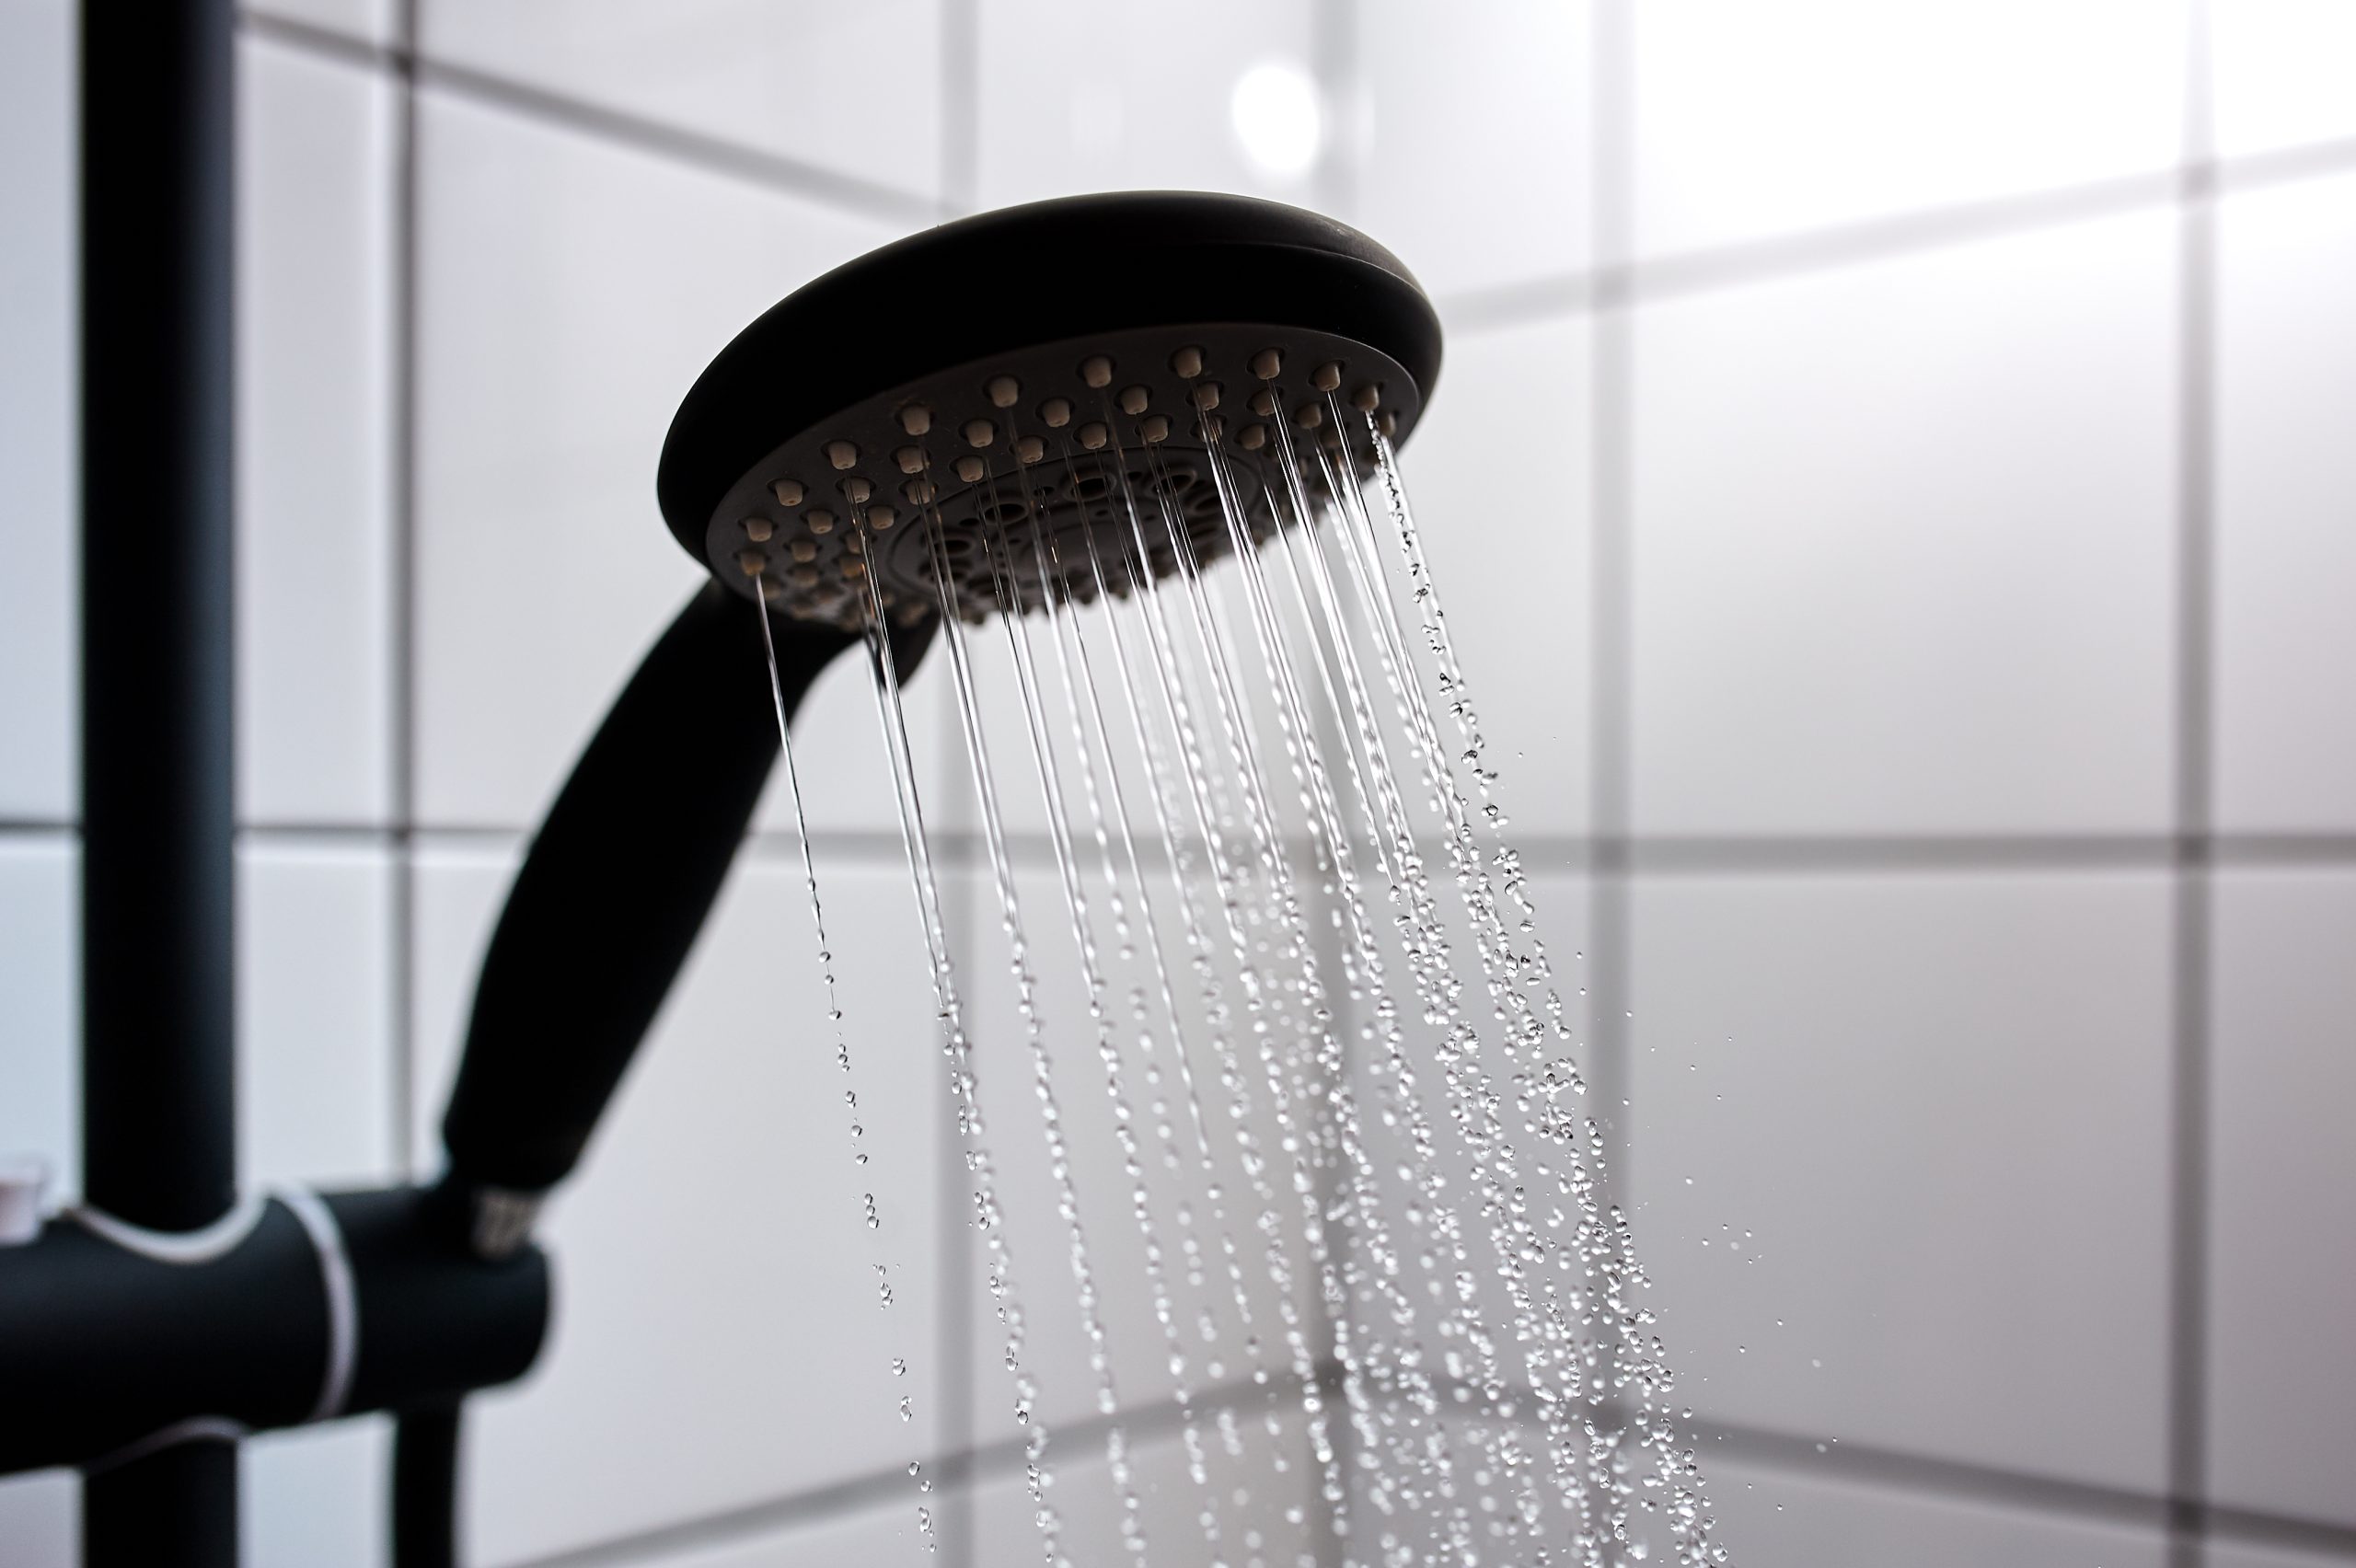
While the plumbing location stays put, the fixtures themselves can evolve to match your lifestyle and embrace eco-friendly water-saving technologies. The most popular update is the “Standard Swap,” where an outdated bath is replaced by a modern walk-in shower. Since standard alcove bath dimensions are almost universally 60 inches long by 30 inches wide, a shower tray of the same size slides right into the existing pocket. Sticking to the original footprint ensures the swap feels native to the room rather than forced.
The ‘Corner Pivot’ Strategy: Turning a 6×6 Square into a Functional Oasis
Square bathrooms often feel chaotic because every fixture competes for the same central spot. Unlike the hallway layout, where traffic moves in a straight line, a 6×6 box forces you to stand in the middle and spin to reach what you need. The “Corner Pivot” strategy solves this traffic jam by pushing fixtures into the room’s four corners, clearing out a central turnaround space that allows you to dry off or dress without bumping your elbows against the wall.
Your biggest victory in compact bathroom designs comes from changing the shape of the shower. Standard square stalls jut out aggressively, eating up the floor area where you need to stand. By installing a quadrant or neo-angle shower—a unit with a diamond-shaped base that clips the outer corner off—you can reclaim up to 25 per cent more usable floor space. This adjustment removes the sharp edge that people usually bump into, maximising square footage effectively.
Once the shower is anchored, you can dedicate the remaining corners to specific tasks to eliminate dead space. Space-saving corner basin layouts present a distinct choice: pick a pedestal basin to make the room look airy, or a corner vanity if you desperately need storage. Pairing this with modern, sustainable fixtures helps bring the space to life. If you are unsure how to match the aesthetics, exploring what tapware colour is on-trend right now can ensure your corner pivot layout remains stylishly up-to-date.
3 Fixtures That Love Corners
- Neo-angle/Quadrant Showers: Opens up the centre of the room and improves foot traffic.
- Corner Vanities: Utilises the dead zone behind the door swing, offering personalised storage.
- Corner Toilets: Rare, but excellent for solving knee-clearance issues in highly restricted areas.
The Double Vanity Dream: Using Wall-Mounted Fixtures to Cheat the Square Footage
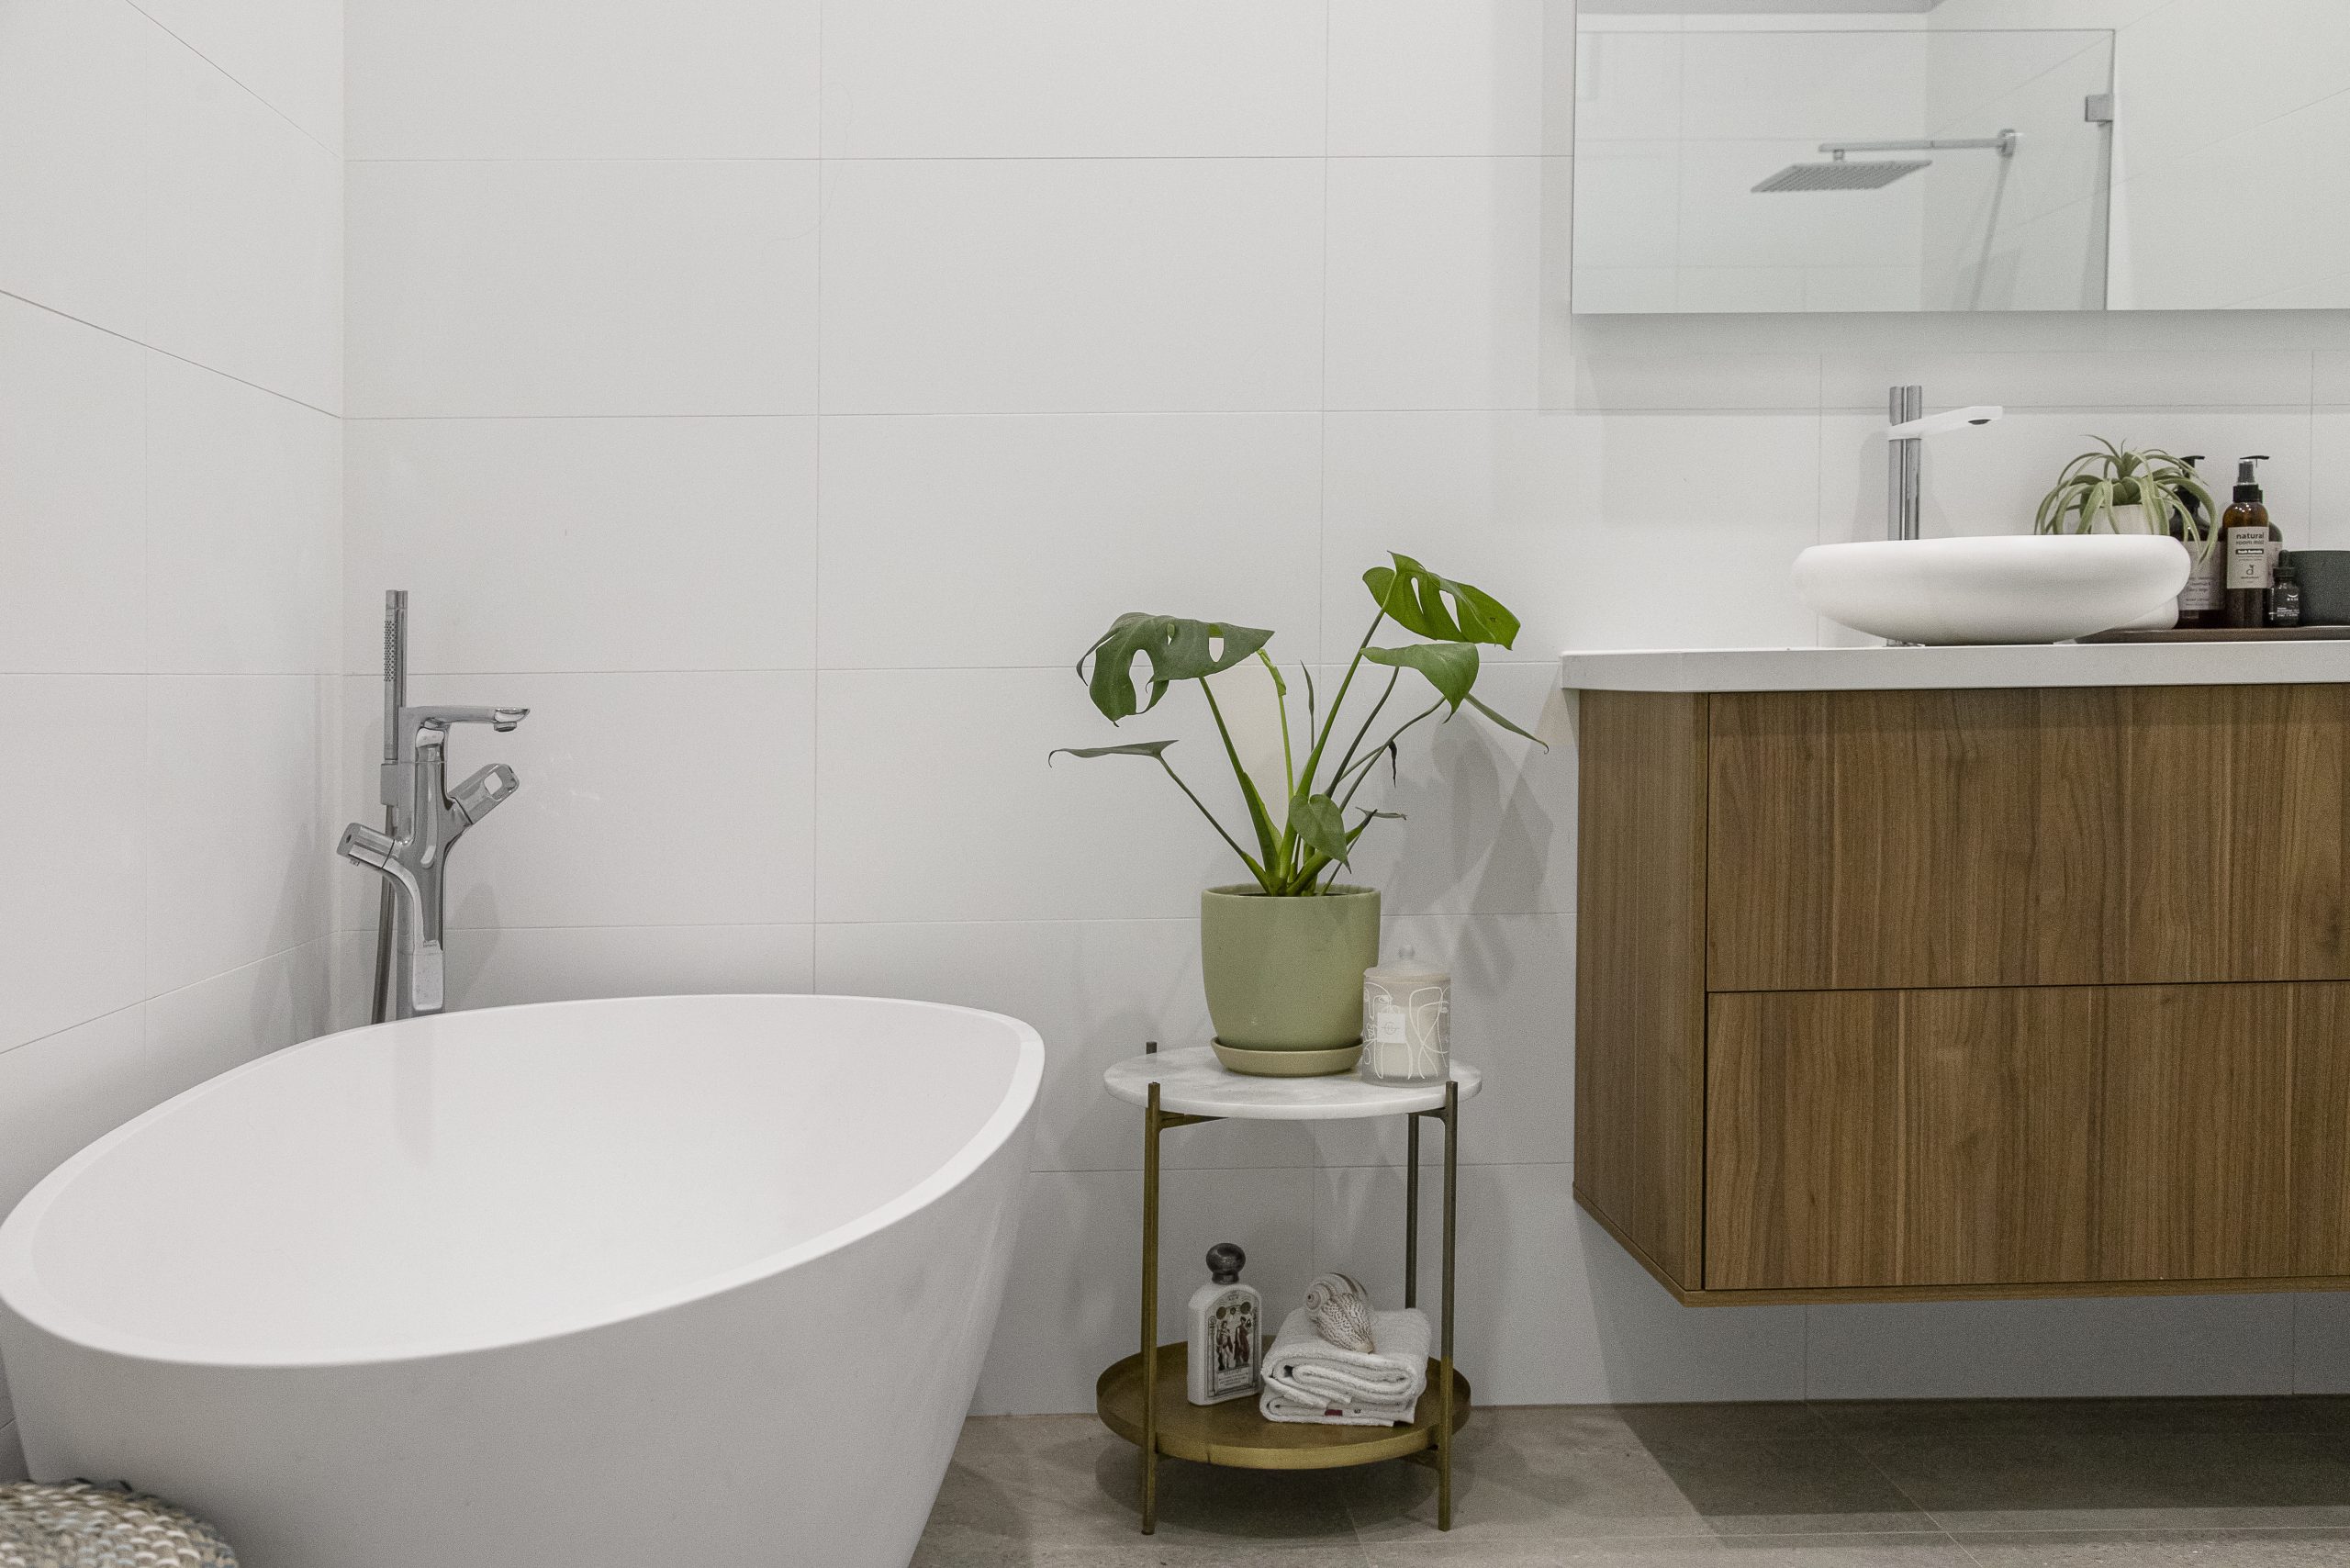
Sharing a basin during the morning rush usually results in frustration, but squeezing two basins into a narrow bathroom often creates a bottleneck. You can cheat the eye and the footprint by swapping heavy, boxy cabinets for a floating fixture. Installing a wall-mounted vanity exposes the flooring all the way to the back wall, tricking your brain into thinking the room is much larger than it actually is. This aesthetic trick is especially powerful if you are renovating to sell, as buyers highly value perceived space and the luxury of a dual basin setup.
Why Floating Vanities Work Harder
- Visual Trickery: Seeing the floor extend under the cabinet prevents the room from feeling stuffed and heavy.
- Custom Comfort: You can mount them at the perfect personalised height for your family, rather than sticking to a builder’s standard.
- Easy Maintenance: Without legs or plinths, there are no corners for dust bunnies to hide, making cleaning a breeze.
If the walkway still feels tight, look for slim-depth units. Standard worktops stick out 21 inches, but shaving that down to 18 inches gives you critical hip-room. Once you have streamlined the cabinets, look at the biggest space-waster in the house: the entry door. A standard door demands about nine square feet of clear air just to open and close—we call this the “Swing Tax.” Replacing it with a sliding pocket door instantly refunds that space to the room, allowing you to place fixtures closer to the entrance.
The ‘Wet Room’ Secret for 20-Square-Foot Cloakroom Conversions
Most homeowners assume adding a shower requires a massive home extension, but you can unlock incredible potential by simply stopping the practice of treating the shower as a separate box. Converting a cloakroom to a full bath becomes surprisingly achievable when you waterproof the entire floor and walls, effectively turning the whole room into an enclosure. This strategy removes bulky glass walls and raised trays that typically eat up precious inches, allowing you to utilise tight corners that would otherwise be dead space.
The magic behind this seamless look is a level access entry where the floor slopes slightly toward a central drain rather than stepping over a ledge. Removing the tripping hazard of a standard curb not only makes the room appear significantly wider but is also a cornerstone of any senior-friendly bathroom renovation. Wet room design for limited floor space relies on this continuous flooring to trick the eye, because your line of sight is never interrupted by a physical barrier, a cramped 25-square-foot footprint feels incredibly open.
You might worry about soaking the rest of the room, but tankless toilets and strategic positioning keep the dry zone functional. Smart plumbing placement for tiny bathroom renovations often pairs these open layouts with a hinged glass splash guard that folds flat against the wall when you aren’t showering. According to experts, these multi-functional wet areas are becoming a top choice for modern home design. This approach maximises utility in the smallest footprint possible, yet it requires precise measurement before you buy a single tile.
Your 48-Hour Layout Plan: From ‘Cramped’ to ‘Capable’
You do not need a sledgehammer to fix a cramped space; you just need to uncover the hidden potential in your floor plan. By mastering the art of maximising square footage, you can turn a claustrophobic washroom into a functional retreat. It is not about adding inches to the room; it is about making the inches you already have work harder for you. Exploring these small bathroom layout ideas ensures your renovation is both beautiful and highly practical.
Before you buy a single tile, grab your tape measure and conduct this quick audit to lock in your plan:
- Measure Everything: Map out dimensions and identify fixed obstacles like windows.
- Locate the Stack: Identify the toilet waste pipe—this is your expensive anchor.
- Test Clearances: Mark swing zones for doors and drawers to ensure clear paths.
- Pick the Plan: Select one of the optimised layouts that best fits your measurements and lifestyle.
- Consult a Pro: Share your rough sketch to confirm your functional plumbing configurations are sound.
Remember, the golden rule for a budget-friendly and sustainable renovation is keeping your anchor plumbing in place. Tonight, stand in your current space and do the elbow test—mimic brushing your teeth or drying off. If you can move without hitting a wall, your layout is solid. With a strategic plan, a focus on quality craftsmanship, and a touch of design innovation, your small bathroom will feel twice as big without expanding a single inch.