On renovation TV, demolition day is the fun part. The crowbar comes out, the tiles crack, the host yells something motivational and ten minutes later, a perfect bathroom appears. In the real world, that first swing of the hammer is the single most expensive moment in your entire project, which is exactly why a proper bathroom renovation checklist matters. Every decision you haven’t locked in by demo day has to be made while trades stand around waiting, and every “we’ll figure it out later” turns into a change order with a price tag attached.
The best bathroom renovations are won or lost in the two to six weeks before a tool ever touches your wall. So before you get romantic about sledgehammers, run through the pre-demolition sequence below. It’s the same one we walk our Gold Coast clients through, and it’s the difference between a smooth eight-week build and the kind of stop-start disaster you complain about at barbecues for the next five years.
Why Your Bathroom Renovation Checklist Matters More Than Demo Day
A bathroom is the most tradie-dense room in your house. A full renovation typically involves a builder, plumber, electrician, waterproofer, tiler, cabinet maker, glazier and sometimes a plasterer, all sequenced back-to-back, often within a single week of each other. If any one of them turns up and something isn’t ready (the vanity hasn’t arrived, the tiles are on the wrong pallet, the electrical layout has changed), the whole chain slips.
According to Queensland Building and Construction Commission guidance, any residential renovation work valued over $3,300 requires a written contract, and structural or waterproofing work must be performed by licensed tradespeople. Getting your paperwork, permits and product orders right before the build starts is what keeps the job legal, insured and on schedule.
Step 1: Nail Down Your Scope (and Write It Down)
“Scope” is just a fancy word for “exactly what we are and aren’t doing.” Walk into the bathroom with a pen and paper and decide:
- Are you doing a full gut renovation or keeping the existing layout?
- Are you moving plumbing points (shower, toilet, basin, bath)?
- Are you changing the doorway, window size or ceiling height?
- Are you combining the bathroom and laundry, or splitting them?
- Are you upgrading the wiring, fans, lighting circuits or hot water system?
Every “yes” above changes your timeline, your trades list and your budget band. Shifting a toilet waste by 600mm sounds trivial; in practice, it can mean lifting the slab, which adds a plumber, a concreter and about ten days to the build.
Step 2: Set a Realistic Budget (With a Contingency)
Budgets fail when they’re based on a single number rather than a range. OpenAgent’s 2024 bathroom renovation cost data puts a standard Australian bathroom renovation at roughly $15,000–$35,000, with premium builds stretching to $50,000+. Gold Coast pricing sits broadly in line with that.
Whatever number you land on, add a 10–15% contingency on top. Renovation budgets get eaten by the things you can’t see from the outside: rotten studs behind the shower, asbestos in the old waterproof membrane, cracked slab under the bath, a plumbing stack that doesn’t meet current code. These aren’t worst-case scenarios. They’re extremely common in any Gold Coast bathroom older than 25 years.
If cash flow is a concern, compare a fixed-inclusion approach (like our bathroom renovation packages) against a fully custom quote. Packages lock in your inclusions, which means your 10% contingency only needs to cover surprises inside the walls, not style changes you make along the way.
Step 3: Lock In Your Layout Before You Touch Anything Else
Layout decisions drive plumbing, which drives everything else. You cannot change your mind about the shower wall after the slab is cut.
For small bathrooms, this is especially important. A 600mm shift in any direction can completely change how usable the room is. Our guide to the five small bathroom layouts that actually work is a good starting point if your footprint is under 6m².
At the bare minimum, before demolition, you should have:
- A scaled floor plan (even a hand-drawn one is fine) showing every fixture position
- Door swing direction confirmed
- Shower screen type chosen (framed, semi-frameless, frameless walk-in)
- Vanity width and basin position locked in
- Toilet type selected (back-to-wall, wall-hung, close-coupled)
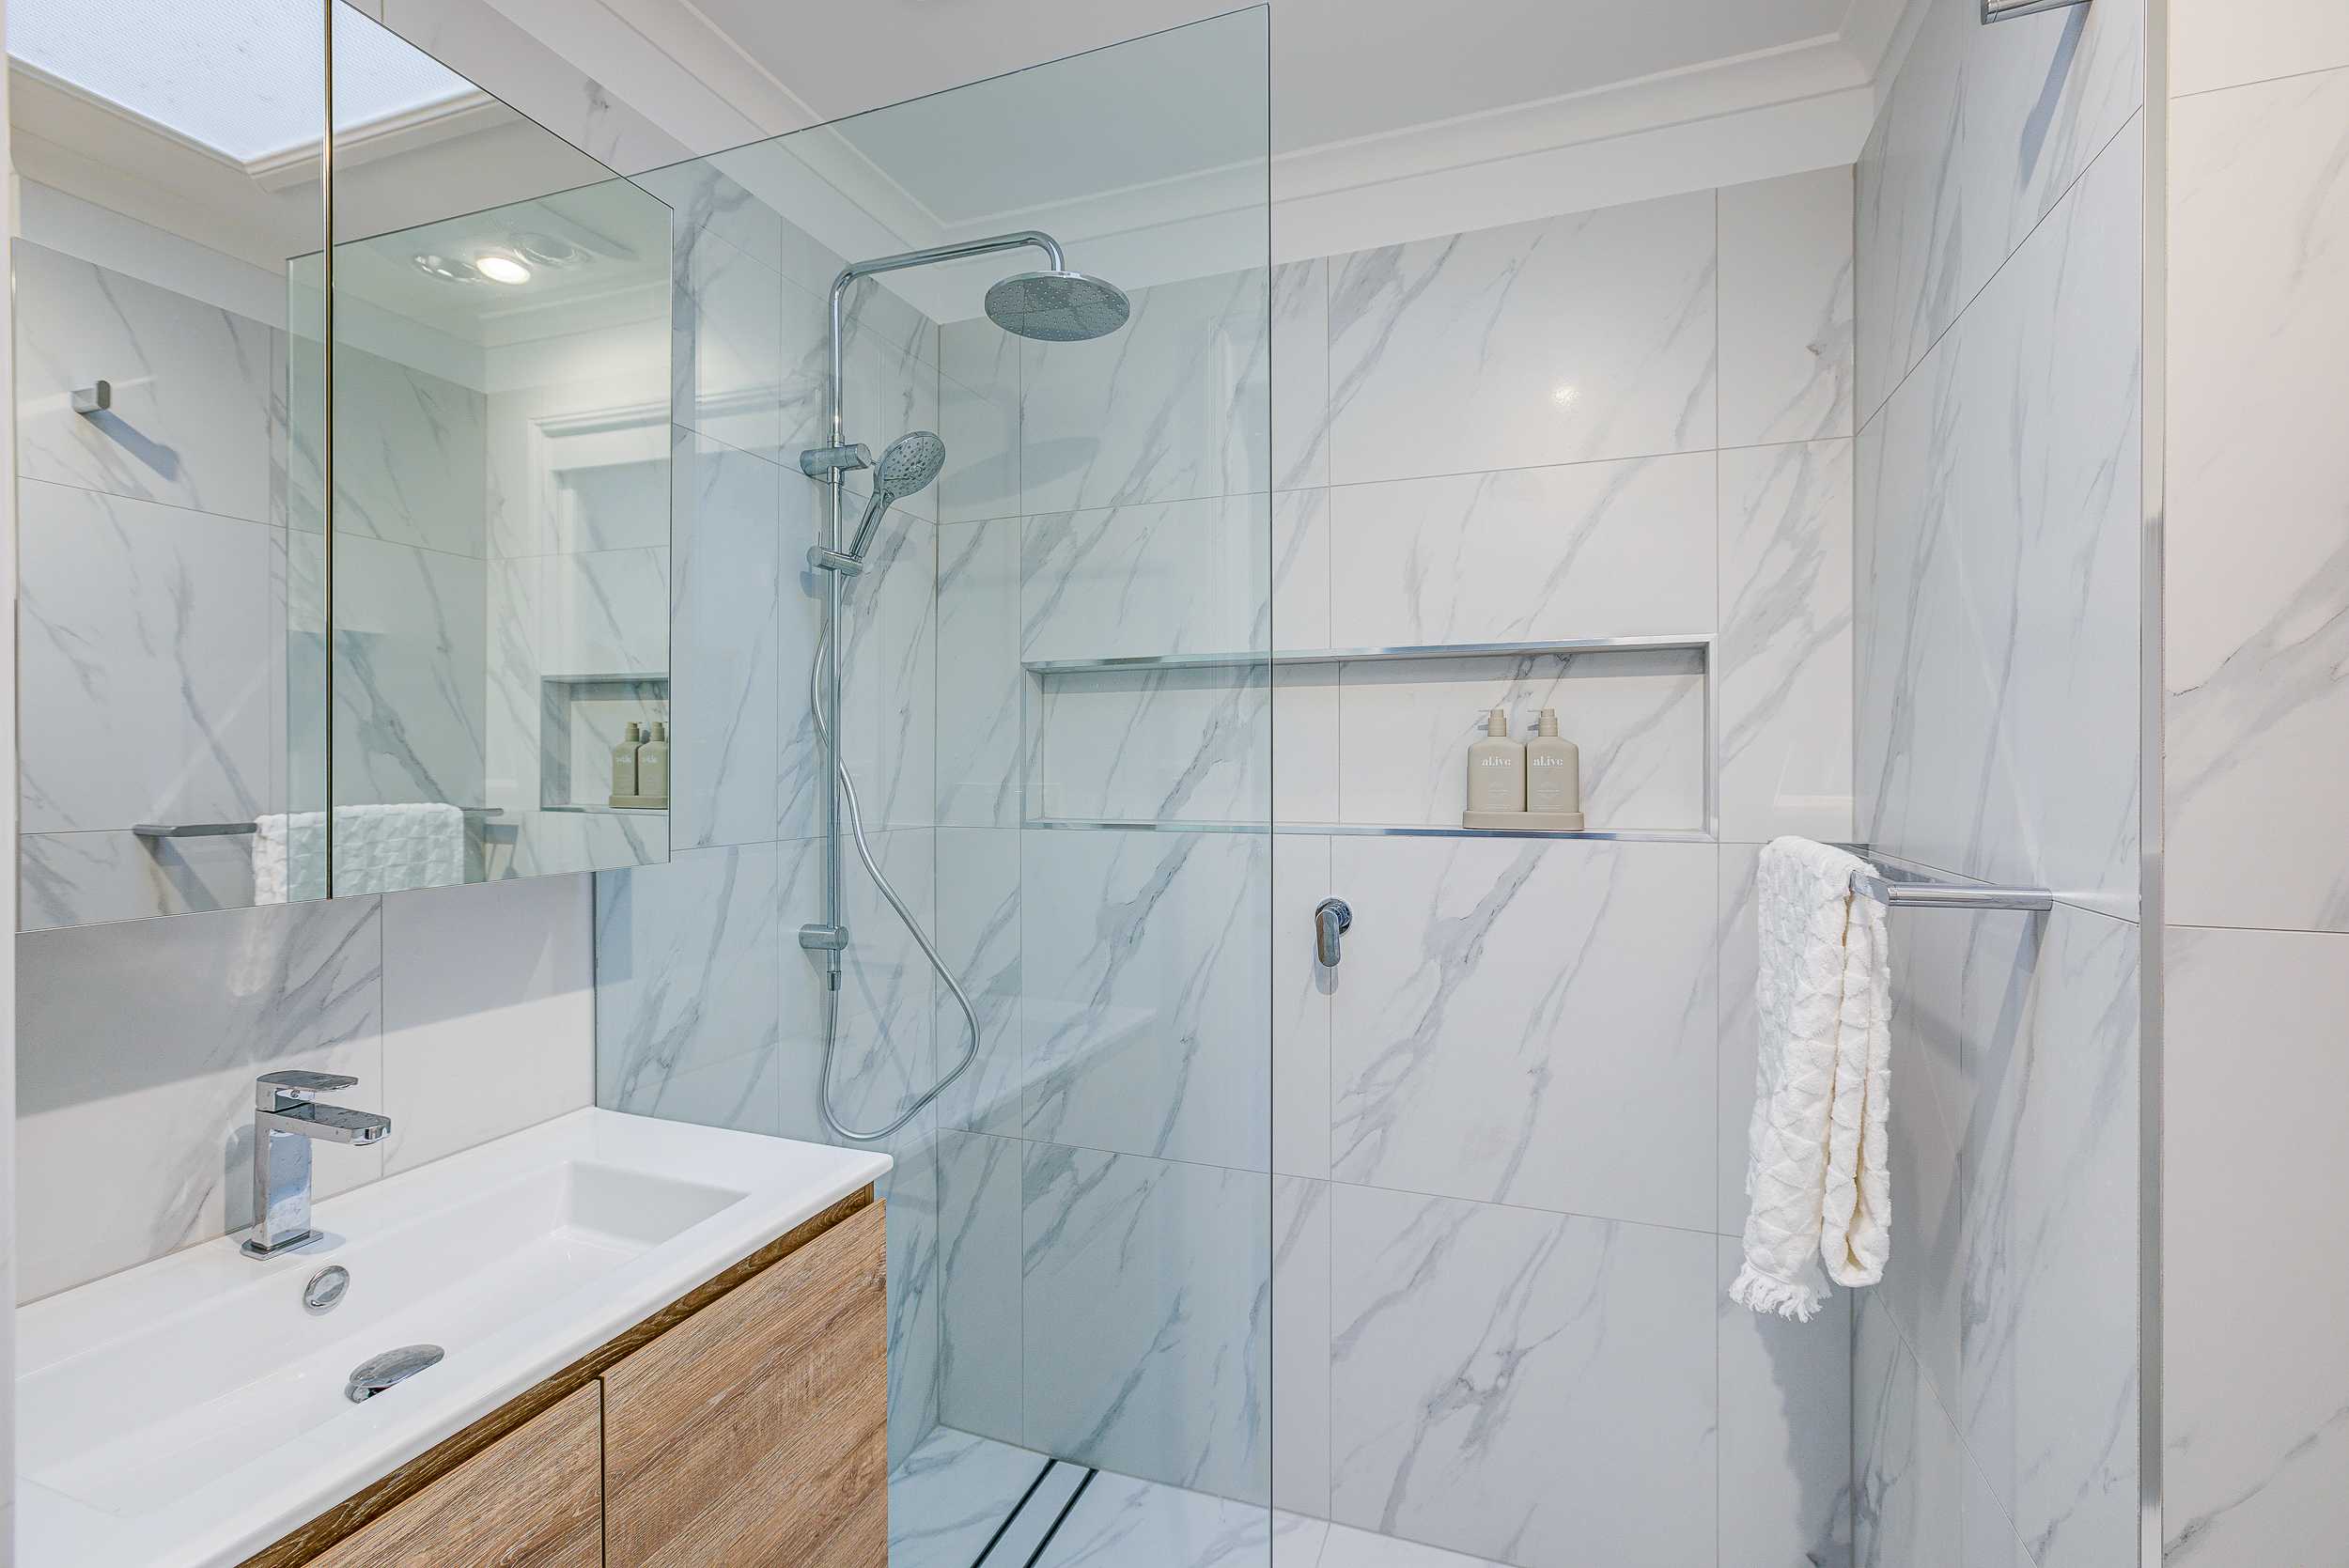
Step 4: Choose Every Fixture and Finish
This is the step homeowners try to skip and then regret. “I’ll pick the tapware once we get going” is how you end up with a 10-day hold mid-build while you stand in a showroom paralysed by 400 options.
Before demolition day, have all of the following chosen, ordered or confirmed in writing:
- Wall tiles (with quantity including a 10% wastage allowance)
- Floor tiles
- Feature tile or niche tile, if using one
- Grout colour
- Vanity (finish, handles, drawers vs doors)
- Basin and mixer
- Shower mixer, rail and rose
- Toilet suite
- Bath, if applicable
- Shower screen glazing and trim colour
- Towel rails, robe hooks, toilet roll holder
- Mirror or mirror cabinet
- Exhaust fan and lighting (including downlights, LED strips, heat lamps)
- Paint colour for ceiling and non-tiled walls
If that list feels overwhelming, a bathroom style quiz can narrow your palette in about five minutes and save you from decision fatigue.
Step 5: Confirm Lead Times Before You Commit to a Start Date
Lead time is the gap between placing your order and the product physically arriving at your door. Most tapware ranges are 2–4 weeks. Custom vanities can take 6–8 weeks. Specialty tiles, especially imported European lines, can take 8–12 weeks during peak periods.
A contractor who’s ready to install a vanity that’s still on a shipping container in Singapore isn’t building your bathroom; they’re waiting in it. Before you lock in a demolition date, get every lead time in writing from your suppliers and back-solve from there. Your demolition should never happen until every long-lead item is either already on site or confirmed in transit.
Step 6: Sort Out Permits, Strata Approval and Council Requirements
Most straightforward Gold Coast bathroom renovations don’t require a building approval, but there are exceptions. You’ll typically need approval if:
- You’re moving load-bearing walls
- You’re altering the external footprint (new windows, changed roofline)
- You’re in a unit, townhouse or apartment with a body corporate
- You’re making structural changes to waterproofing in a multi-storey dwelling
If you’re in a unit or apartment, don’t skip the body corporate step. Most Queensland body corporate schemes require written consent for bathroom renovations because of the waterproofing risk to units below. Approval timelines vary from 2 to 6 weeks, which is a problem if you’ve already booked your trades.
Licensing matters too. Waterproofing, plumbing and electrical work all legally require licensed trades in Queensland. Anyone quoting a cash job “off the books” is either cutting legal corners or doing the work themselves without a licence, and either way, your home insurance won’t cover the outcome.
Step 7: Plan Your Living Arrangements
You cannot live in a house with one bathroom while that bathroom is gutted. A full renovation leaves you without a working shower for 2–4 weeks and without a toilet for 3–5 days (longer if plumbing points are being moved).
Before demolition, sort out:
- Shower plan: gym, friend’s house, second bathroom, or a temporary portable setup
- Toilet plan: second toilet in the house, neighbour, or a short-term portable hire
- Laundry access: especially if the laundry shares plumbing with the bathroom being renovated
- Storage: where do the contents of the bathroom cabinet go for the next 6 weeks?
Families with young kids, shift workers, and anyone working from home need to think this through harder than most. Our week-by-week bathroom renovation timeline breaks down exactly which days are the most disruptive so you can plan accommodations accordingly.
Step 8: Prep the House for the Build
A week out from demolition, walk through the house and do the following:
- Empty the bathroom (medicine cabinet, under-sink storage, shelves, towels)
- Clear the pathway from the front door to the bathroom
- Lift or cover any carpet or timber flooring in the tradies’ pathway
- Move wall art and breakables out of hallways that share walls with the work zone
- Identify where rubbish, tiles and rubble will be stockpiled (front verge, driveway, skip bin location)
- Arrange parking for 2–4 trade vehicles each day
- Let the neighbours know. Noise, dust and skip bins are easier to forgive when warned
- Confirm pet arrangements (cats, especially, don’t cope well with angle grinders)
Step 9: Take Photos of Everything
This is the step nobody tells you about. Before a single tile is lifted, walk through the bathroom with your phone and photograph every corner, including inside the vanity, under the basin, around the shower base, and behind the toilet. Photograph the electrical meter box as well.
These photos become gold if an insurance claim arises, if there’s a dispute about pre-existing damage, or if you later need to explain to a plumber where the original stack used to run. Take too many, not too few.
Step 10: Confirm Your Build Contract in Writing
For any Queensland bathroom renovation valued above $3,300, a written contract is legally required. It should include:
- A full scope of works and itemised inclusions
- A fixed or staged payment schedule
- Start and completion dates
- Details of all licensed trades performing structural, plumbing, electrical and waterproofing work
- Warranty terms (Capital Bathrooms offers a 6-year workmanship warranty as standard)
- A clear variation process for any changes during the build
Don’t accept “we’ll sort it out on the day.” Everything needs to be locked in on paper before day one.
Step 11: Check Insurances Are in Order
Three layers of insurance need to be active before a crowbar hits a wall:
- Your builder’s public liability insurance: ask to see the certificate, not just hear about it
- QBCC Home Warranty Insurance: required on any Queensland residential work over $3,300; covers you if the builder becomes insolvent or can’t finish the job
- Your own home and contents insurance: notify your insurer before the build starts; some policies require it
Step 12: Do a Final Pre-Build Walkthrough
Two days before demolition, walk through the bathroom with your project manager and confirm: the plan on paper matches the plan in the room, every product has either arrived or is confirmed in transit, the first three days of trades are scheduled, and the bathroom is empty and accessible. This 20-minute walkthrough catches 90% of the “we assumed you wanted…” conversations that usually derail renovations mid-build.
Common Pre-Demolition Mistakes to Avoid
- Starting before all products have arrived. If one item is 3 weeks away, your demo date is 3 weeks away.
- Changing the scope after the contract is signed. Every change after demolition costs more and takes longer than the same change pre-build.
- Using unlicensed trades to save money. Uninsured work voids your warranty, your insurance and your resale disclosure.
- Skipping the contingency budget. Every older home has surprises. Plan for them.
- Not telling the neighbours. A friendly note in the letterbox costs nothing and prevents most complaints.
Frequently Asked Questions
How long should I allow for the pre-demolition phase?
Allow a minimum of 4–6 weeks from the day you sign a contract to the day demolition starts. This covers final product selections, ordering, lead times on long-delivery items, and any council or body corporate approvals. Rushing this phase is the single biggest cause of mid-build delays.
Do I need council approval to renovate my bathroom?
For a like-for-like renovation on the Gold Coast, you usually don’t need council approval, but you do need licensed trades for plumbing, electrical and waterproofing work. Approval is required if you’re changing structural walls, external windows, or in a unit/apartment where body corporate consent is also needed.
Can I live in my house during a bathroom renovation?
Yes, most clients do, but it’s significantly easier if you have a second bathroom. Expect no shower access for 2–4 weeks and no toilet access for 3–5 days during the key plumbing stages. If it’s your only bathroom, plan alternative arrangements before demolition day, not during.
What’s the highest hidden cost in a bathroom renovation?
Waterproofing failures and hidden water damage are the two biggest budget killers. Older bathrooms often have failed membranes, rotten studs or rusted-out steel supports behind the shower. That’s why a 10–15% contingency on top of your fixed quote is non-negotiable.
Should I choose a bathroom renovation package or go custom?
Packages are faster, cheaper and more predictable because the inclusions and pricing are locked in. Custom is better when you have an unusual layout, want bespoke finishes, or need to coordinate with other renovations. Most Gold Coast homeowners are well served by a package with a small number of upgrades.
Final Thoughts
The bathroom renovation checklist above looks long, and that’s the point. A renovation that feels smooth from day one is a renovation where the homework was done weeks before anyone arrived with tools. Every item you tick off before demolition day is one less decision your builder has to chase you for at 7 am on a Tuesday, and one less chance of a delay that costs you money.
If you’re somewhere inside the planning window and you’d like a second set of eyes on your scope, your product selections or your budget before you commit, the Capital Bathrooms team runs obligation-free consultations across the Gold Coast, Logan and South Brisbane. Get in touch to book a walkthrough, and we’ll help you tick off the rest of the list.