


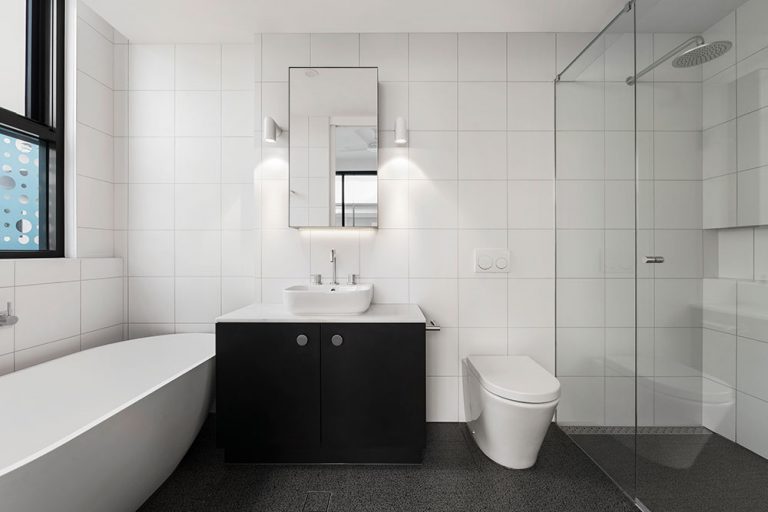


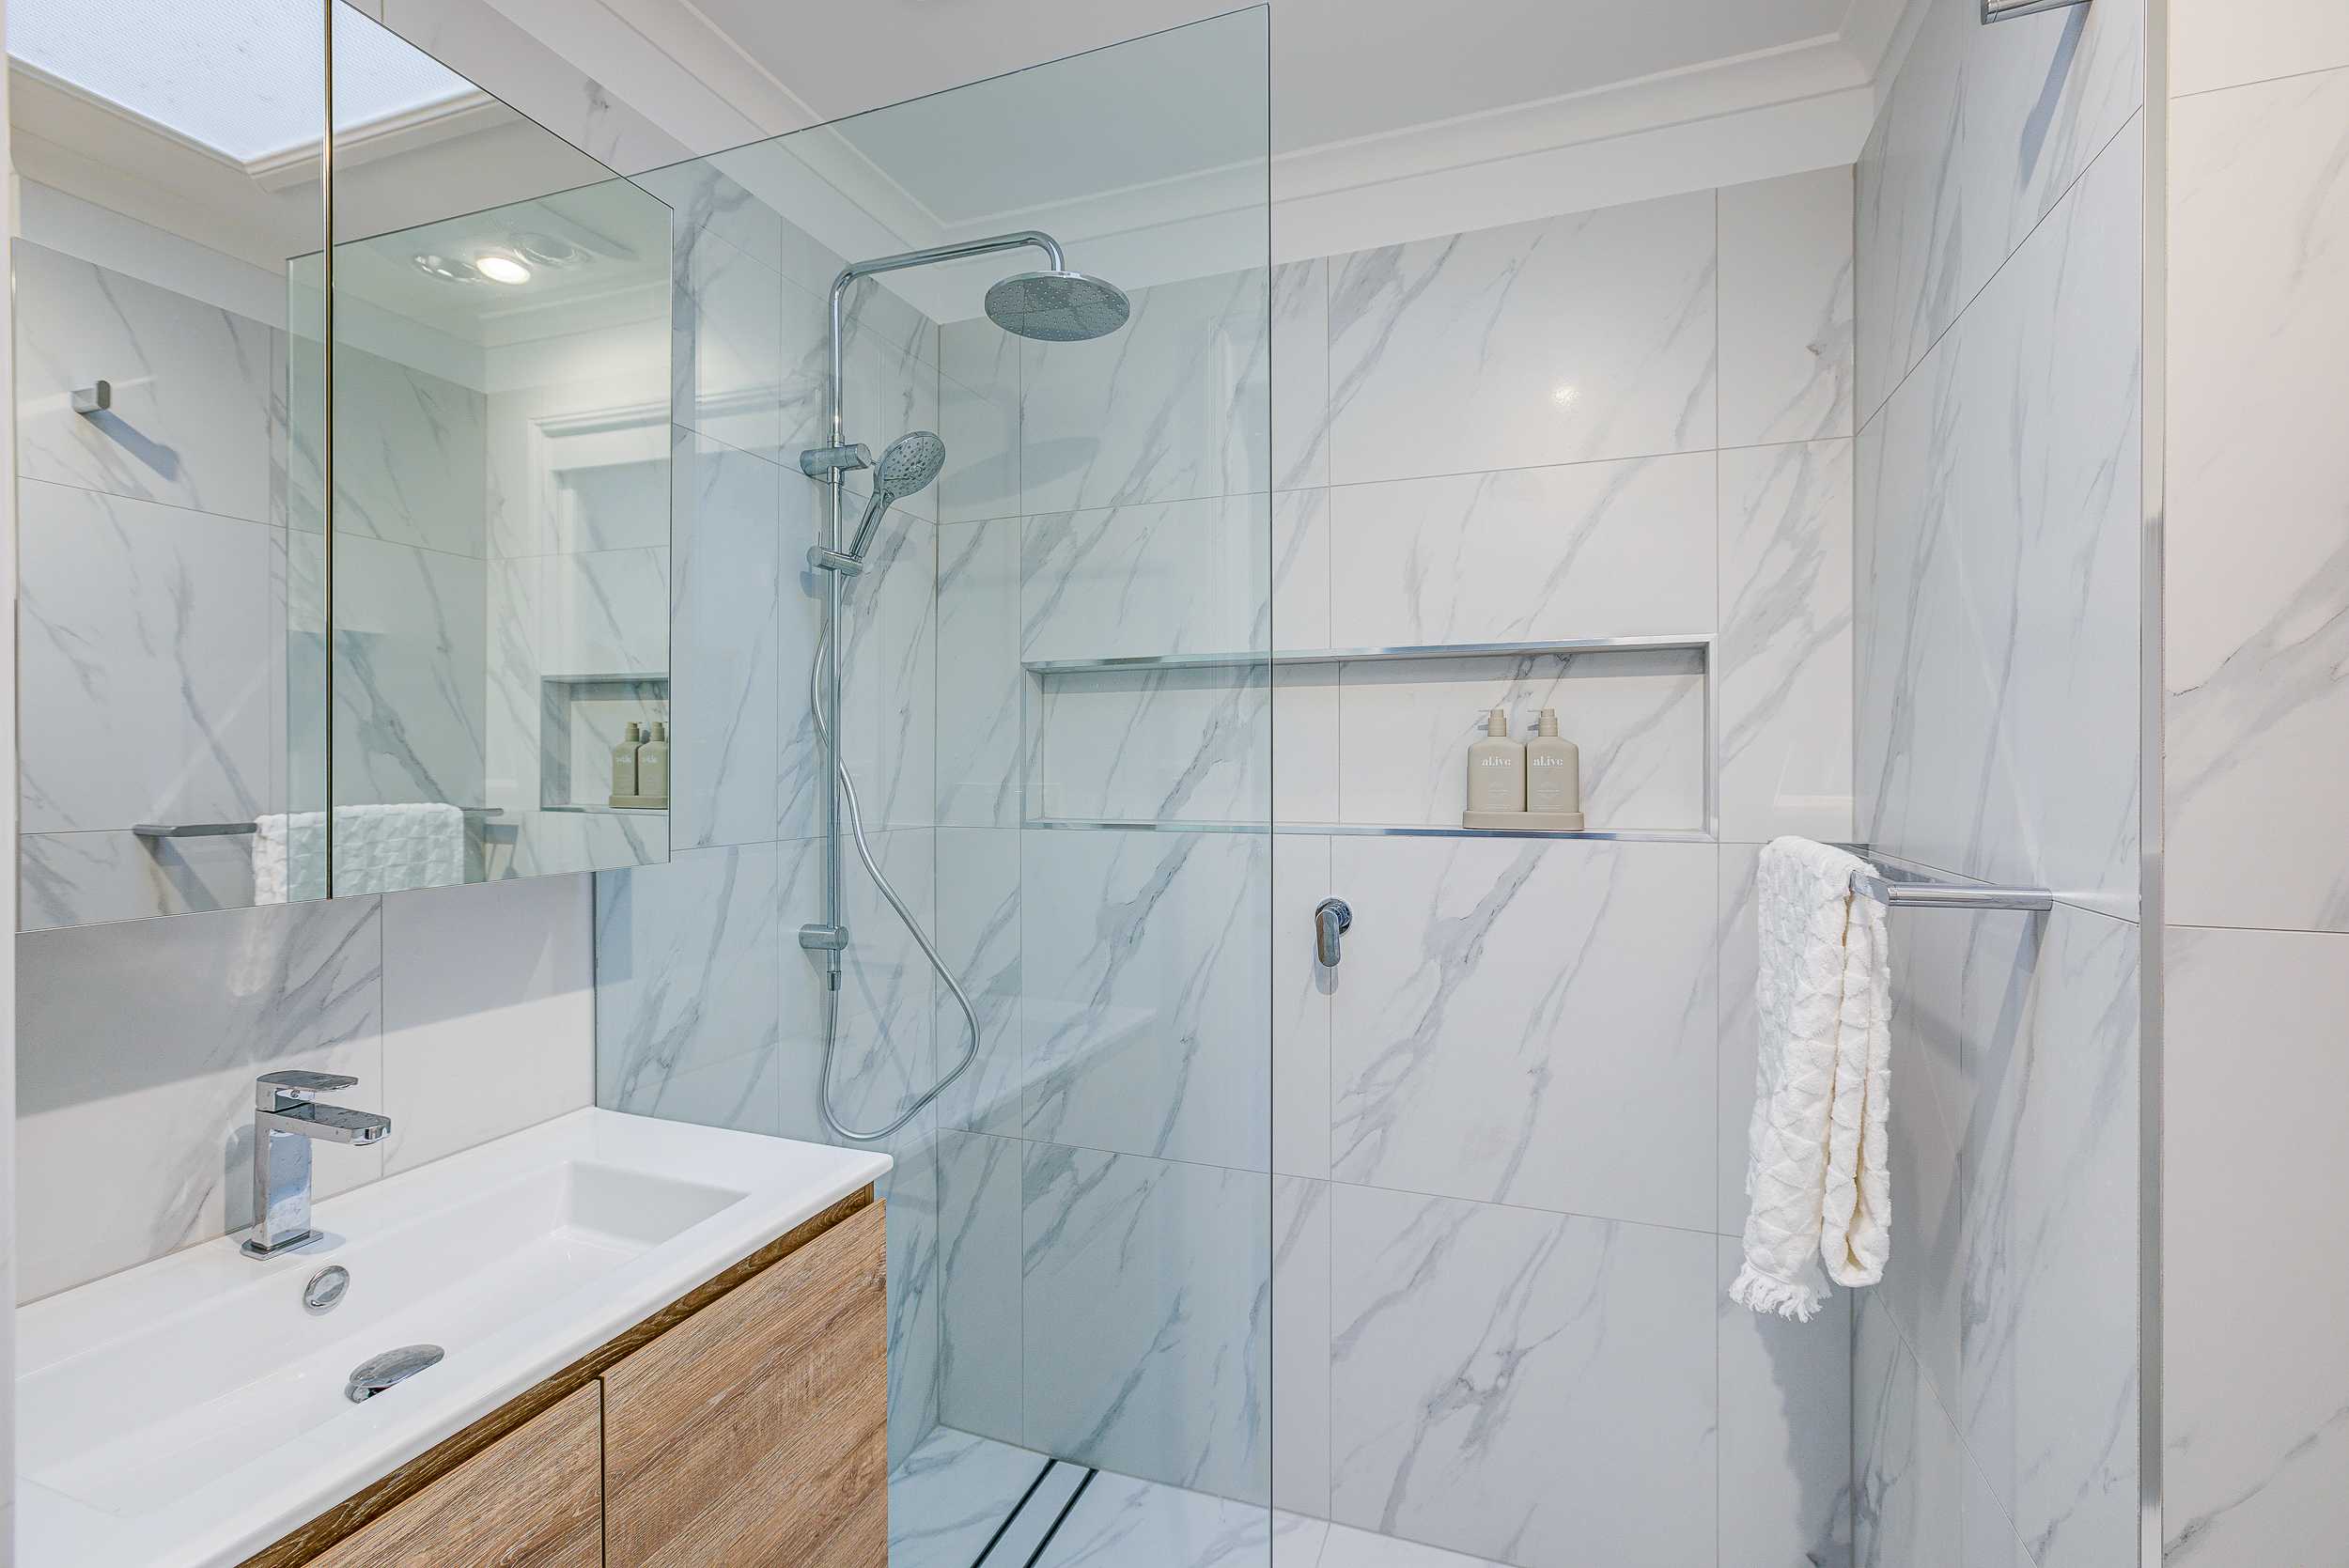
A small ensuite has a funny way of feeling both essential and impossible. You want it to look sharper and work harder, but the moment

On the Gold Coast, the coastal look is almost the default setting. Salt air, big windows, strong natural light, and a lifestyle that pulls the
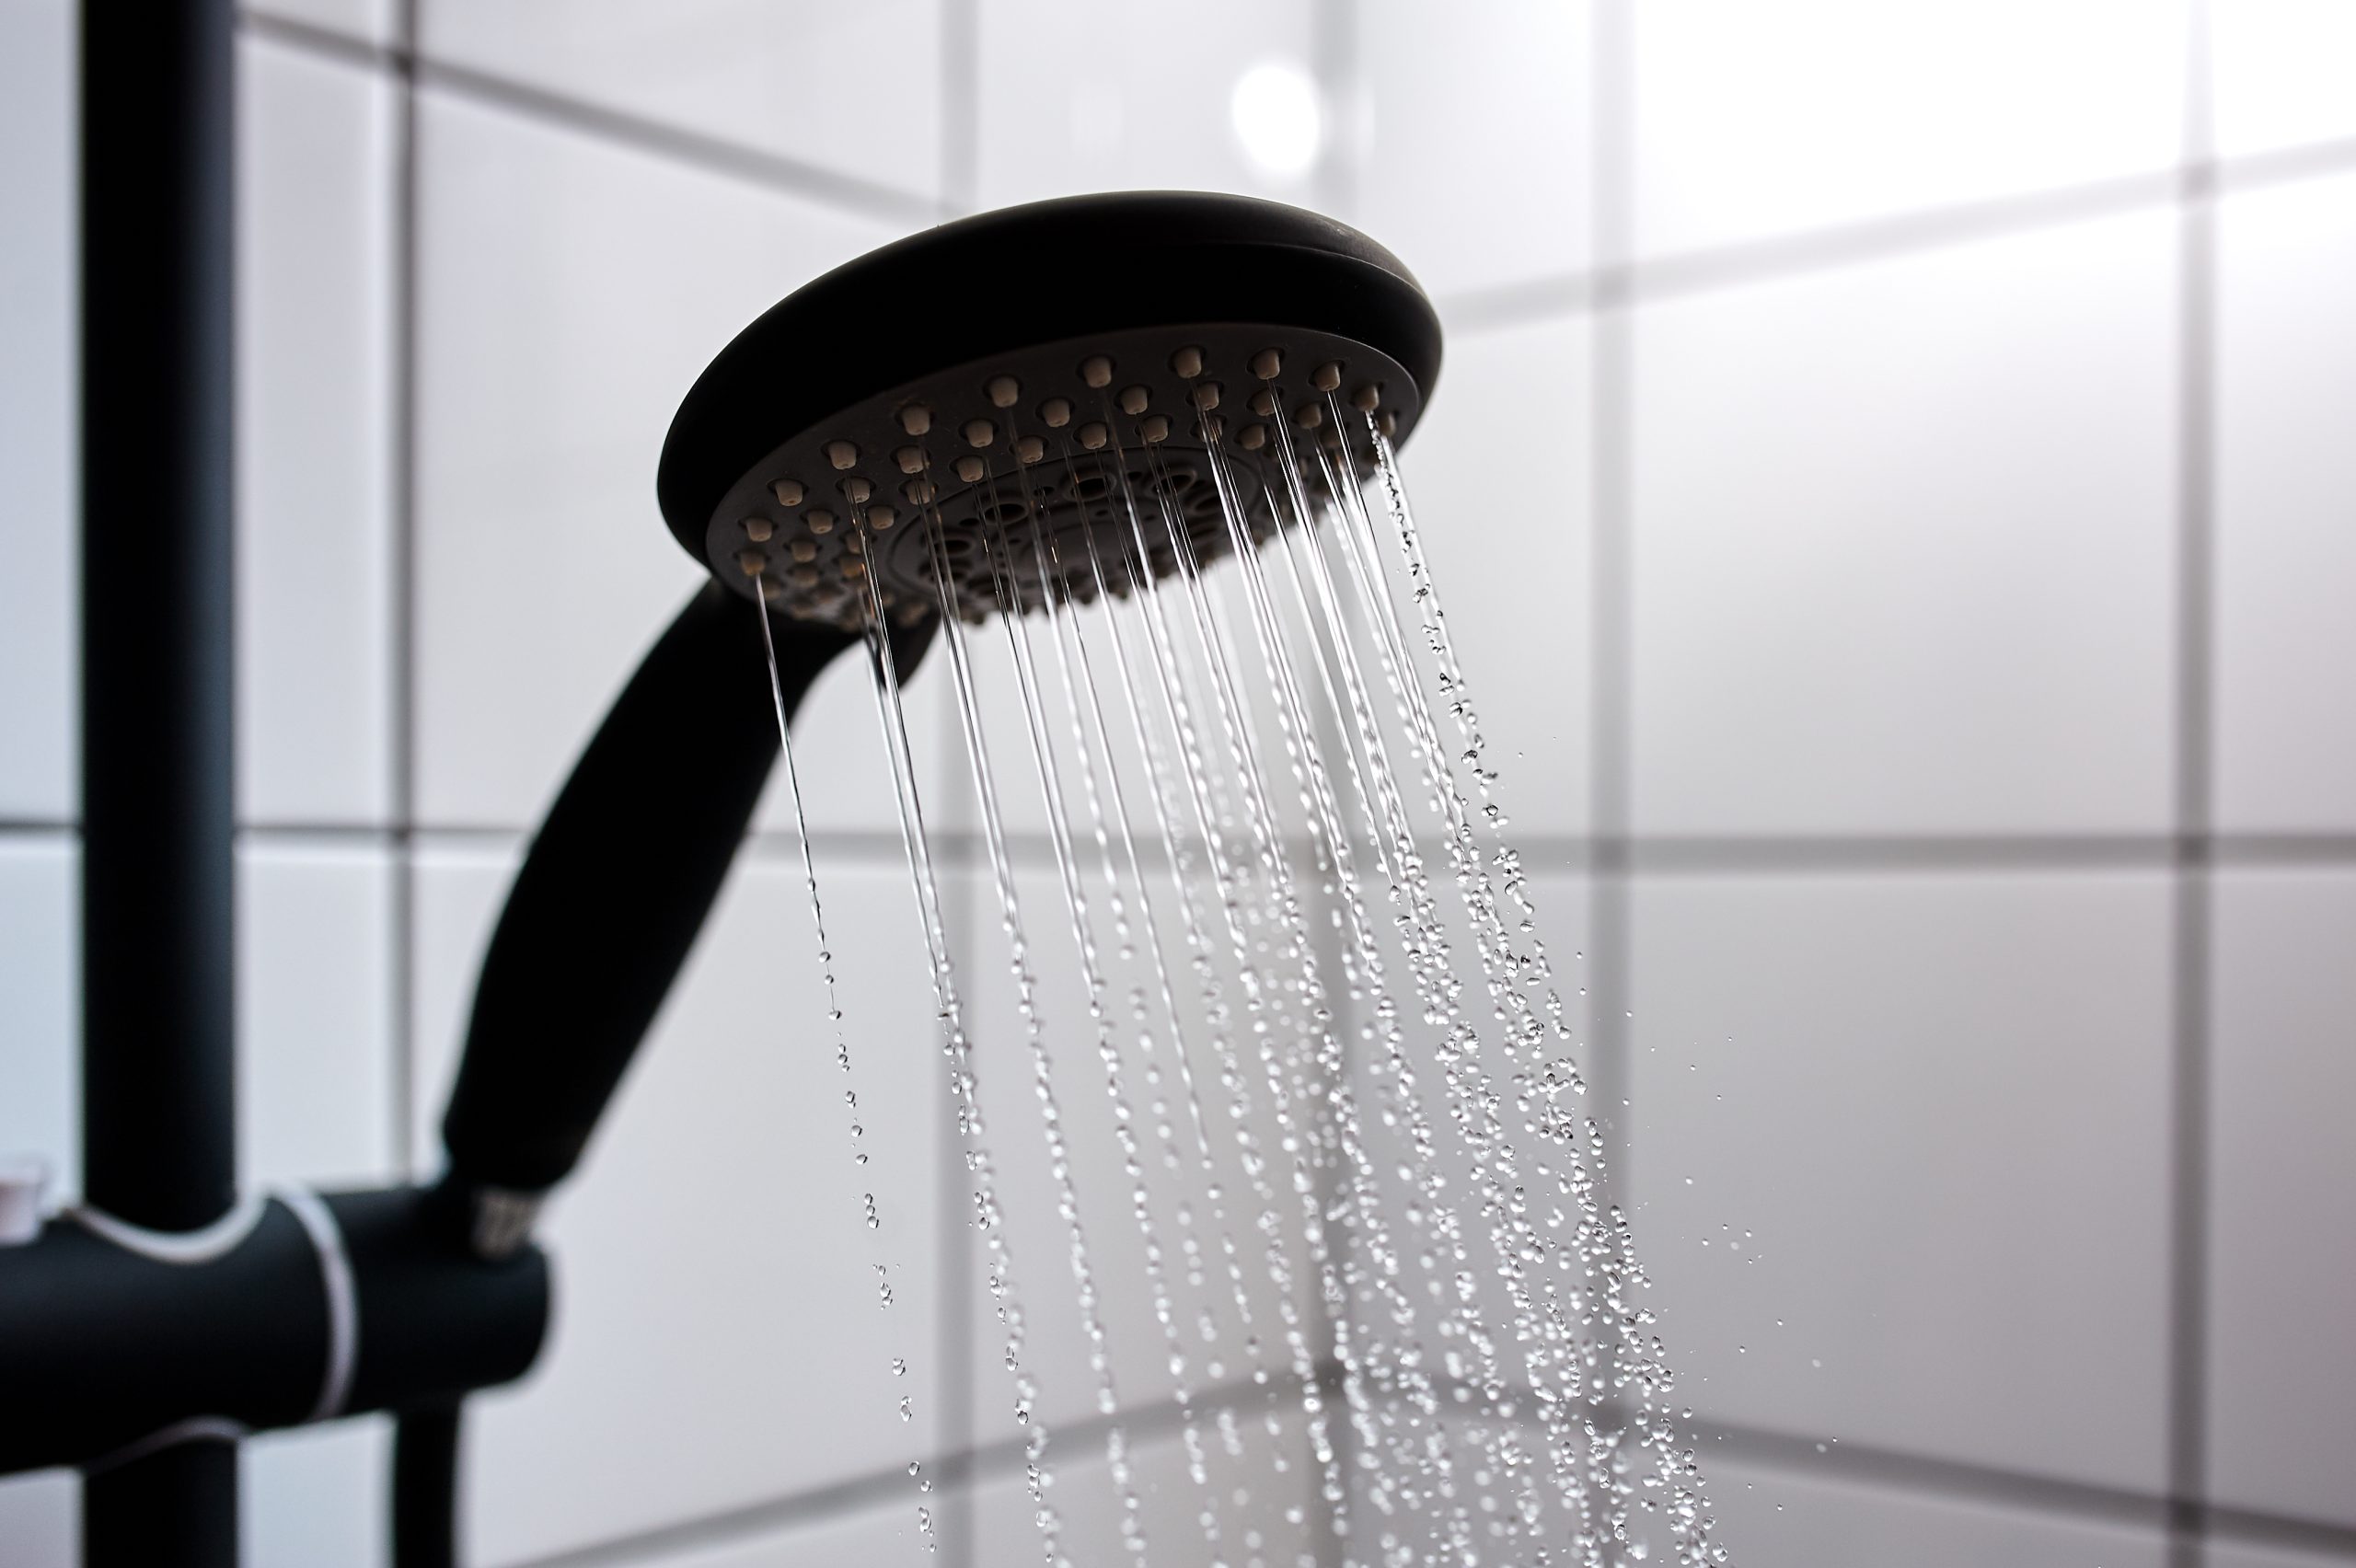
If your shower is showing damp patches on the wall outside it, soft skirting boards in the next room, or a faint musty smell that
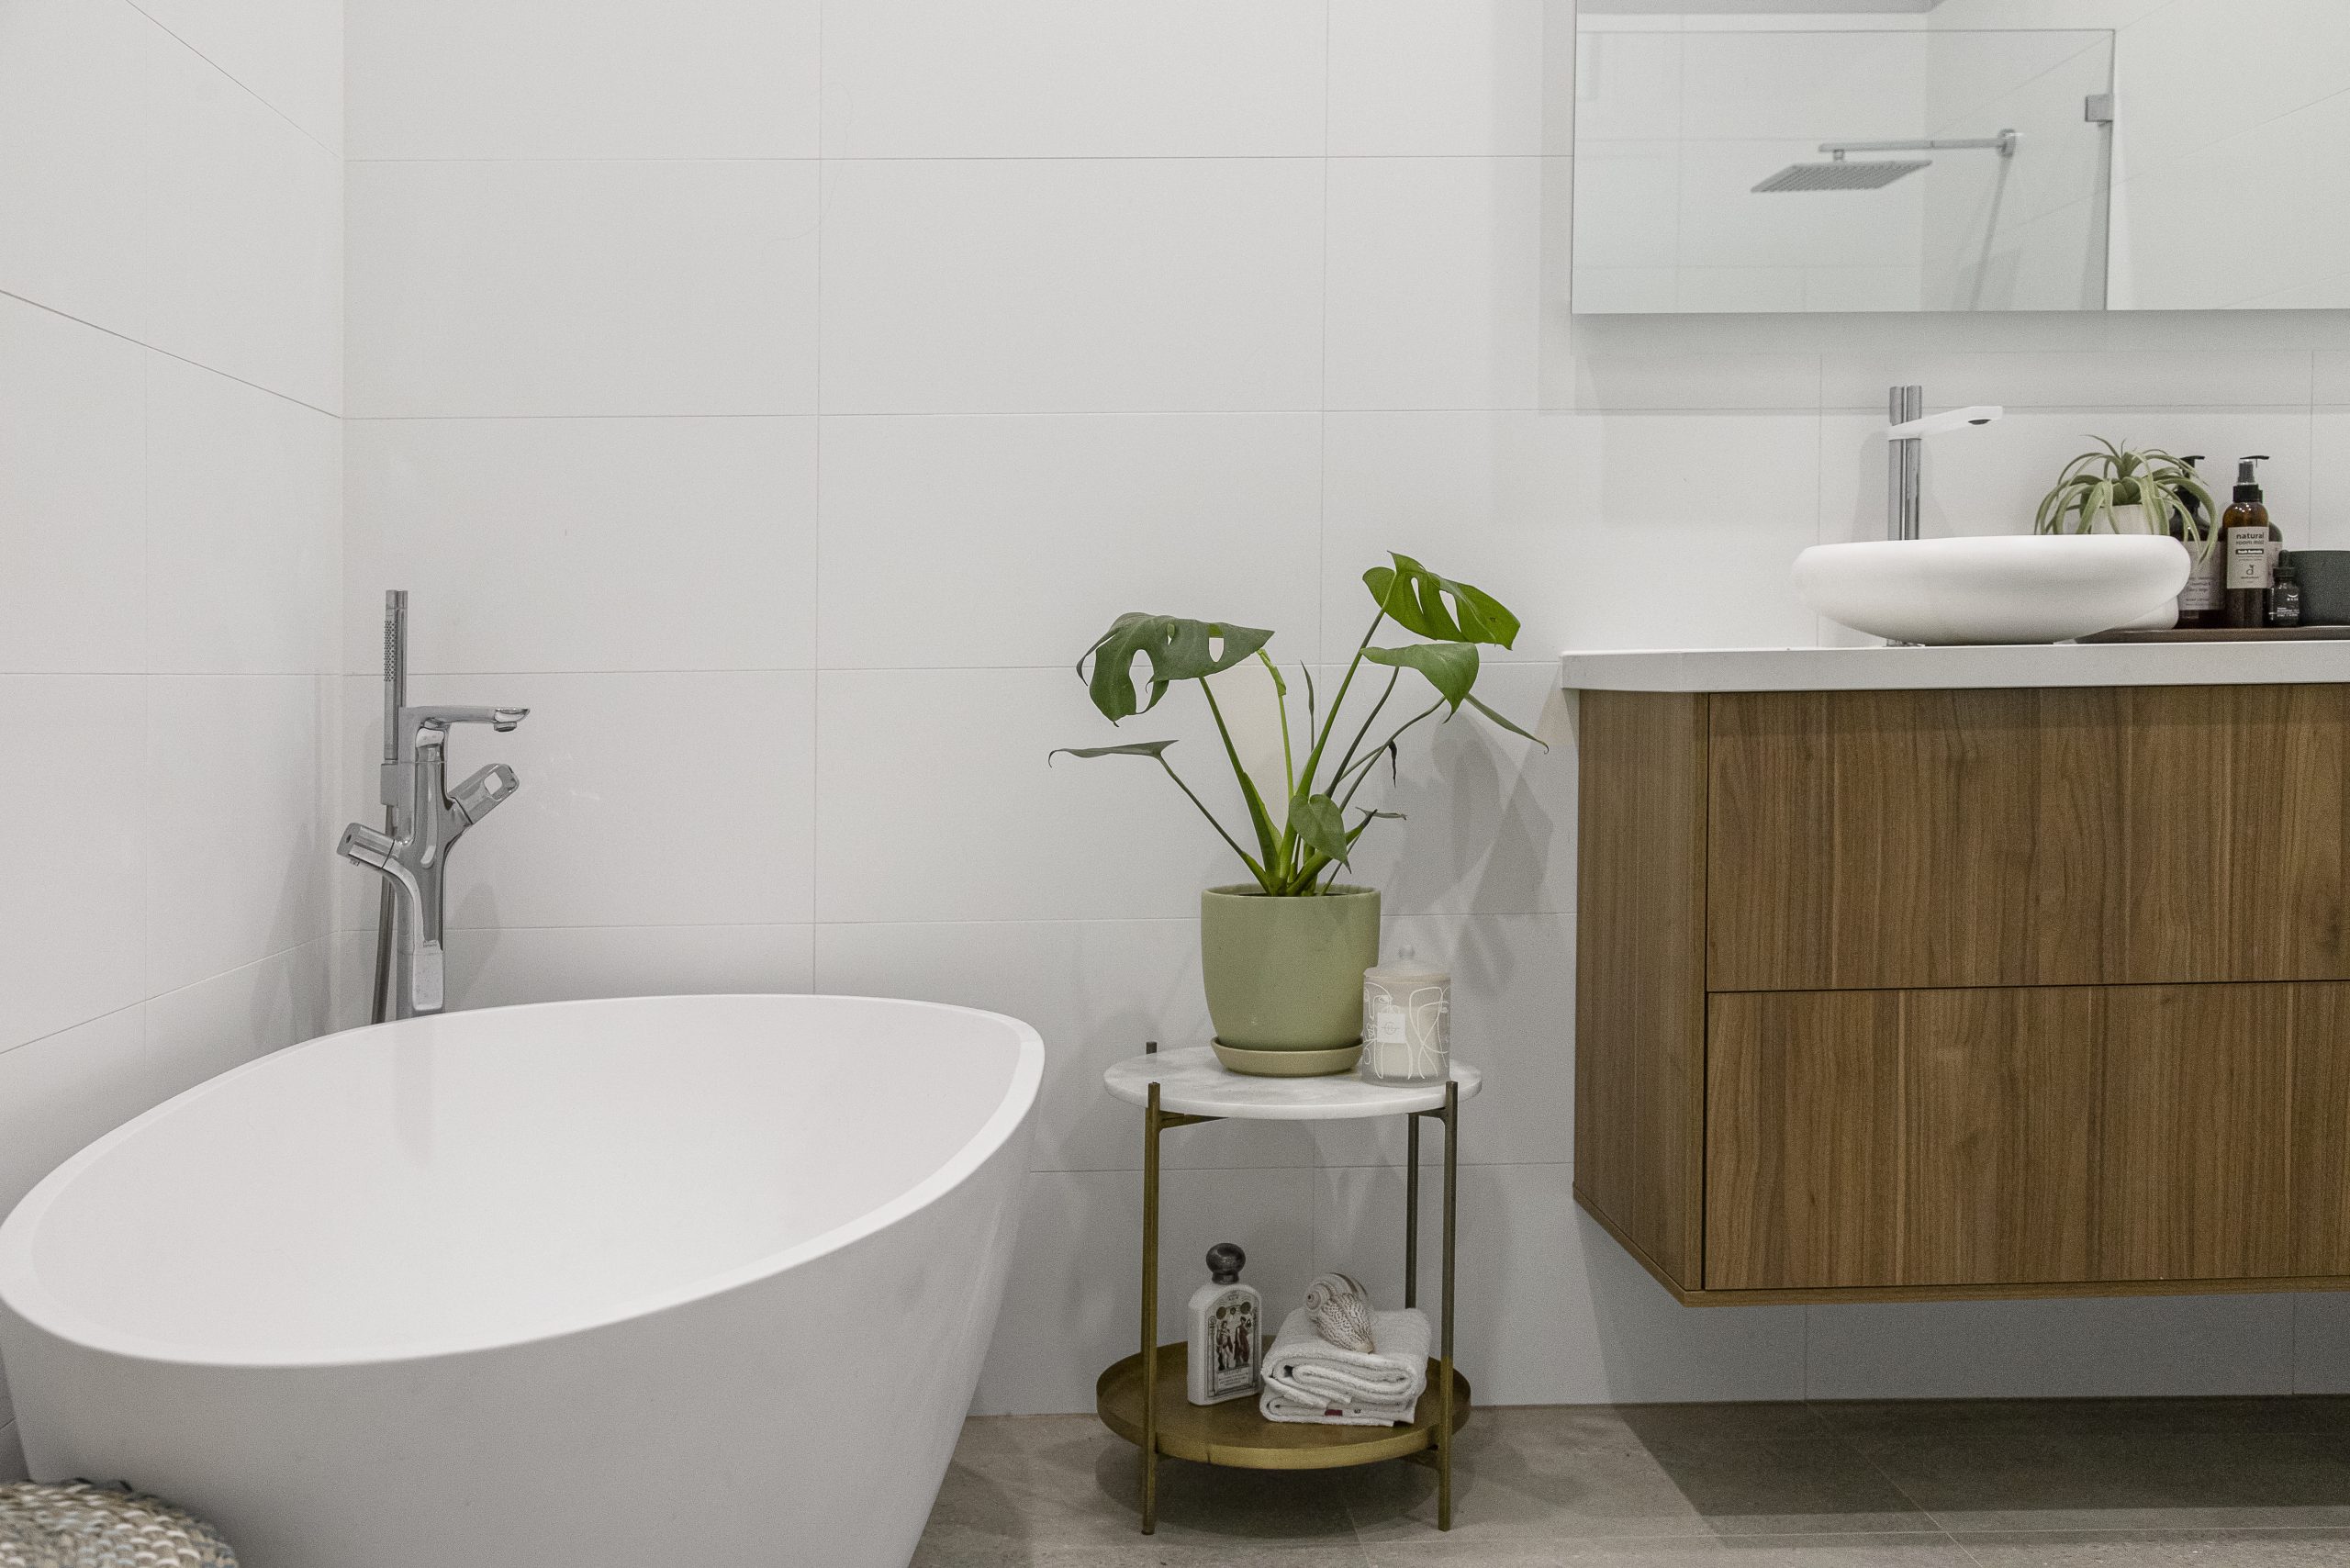
If you’ve been quietly scrolling Pinterest for an ensuite refresh, the first real question that stops the daydream is always the same one: what will
